1. First get a USB drive (4gb at least) make sure you are doing this using a window pc(xp, win 7, win 8)
2. Click here to download armslite.iso file.
3. Click here to download rufus ver 2.2.
4. Plug in the USB drive then open Rufus 2.2, on the Device tab choose your USB drive you just plug in earlier. (highlight in red)

5. Format options, tick quick format and tick create a bootable disk using, then select ISO Image (Refer to the image below) next to the ISO Image box there is a box ( highlight in red)

6. Click the box locate the ARMS® LITE ISO file that you download earlier (most probably the iso file will be in your browser default download folder)
7. Select it and press Start.
8. Wait for it to finish then unplug the USB drive, your Ubuntu installation disk is ready
9. Plug in the Ubuntu installation disk into the CPU and on the power
*If you are using ARMS mini CPU Press F11 during the bios screen
* Click here for reference, if you are using other brand of CPU.
10. On this screen select USB: USB DISK and Press Enter.
11. Select Install ARMS® LITE and Press Enter. 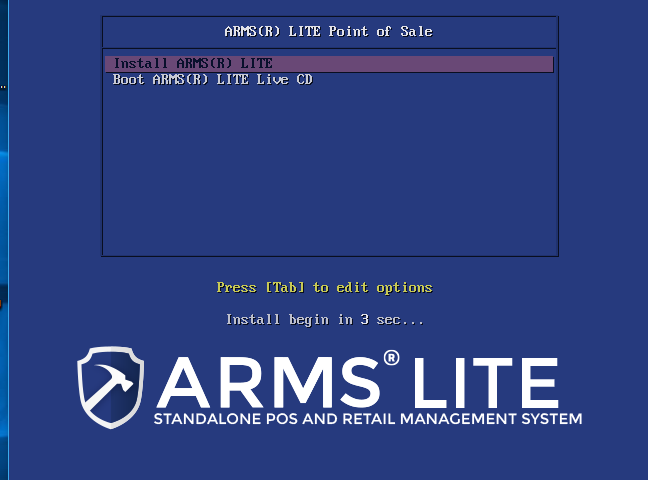
12. Select English and Click the Forward button. 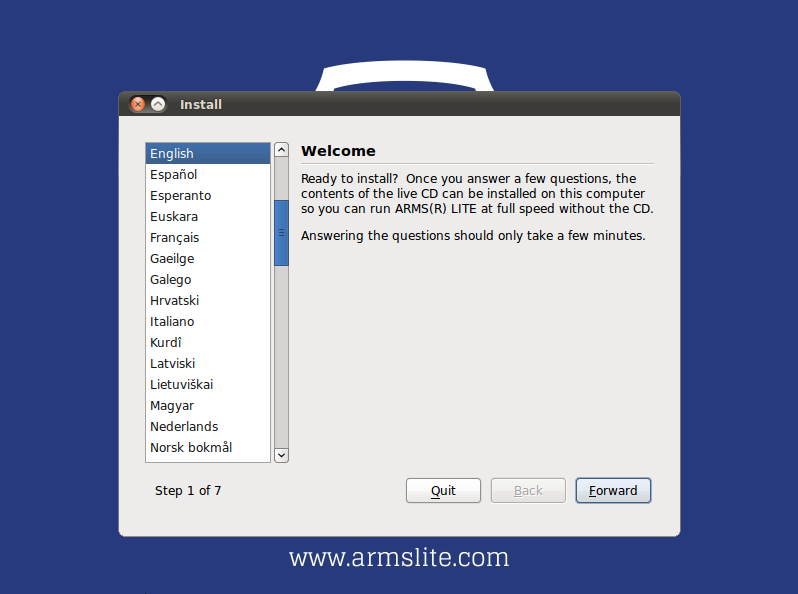
13. Choose your current Region and Time Zone and click the Forward button.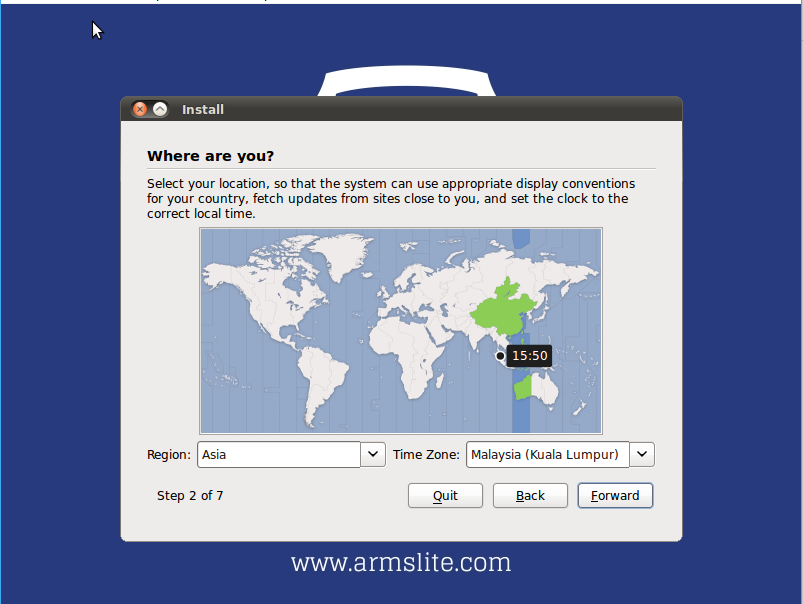
14. Keyboard layout: click on Suggested Option USA and click the Forward button. 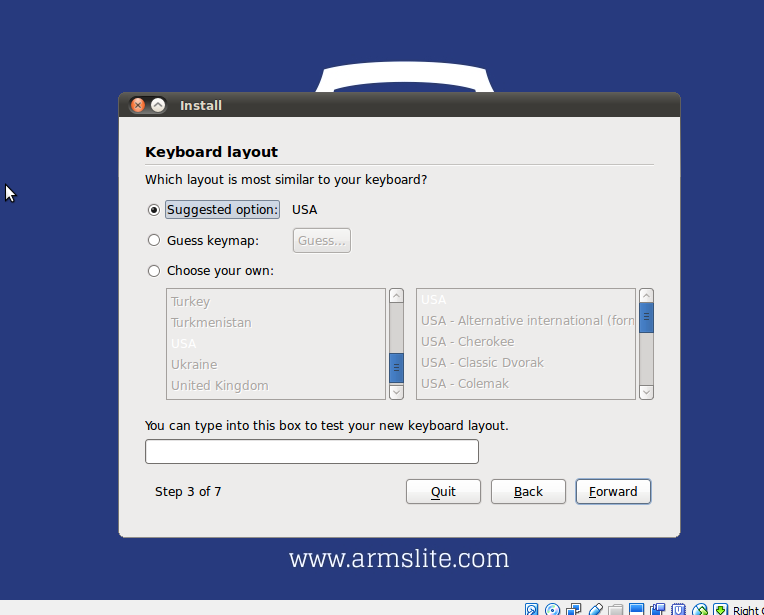
15. Choose Erase and use the entire disk and click the Forward button.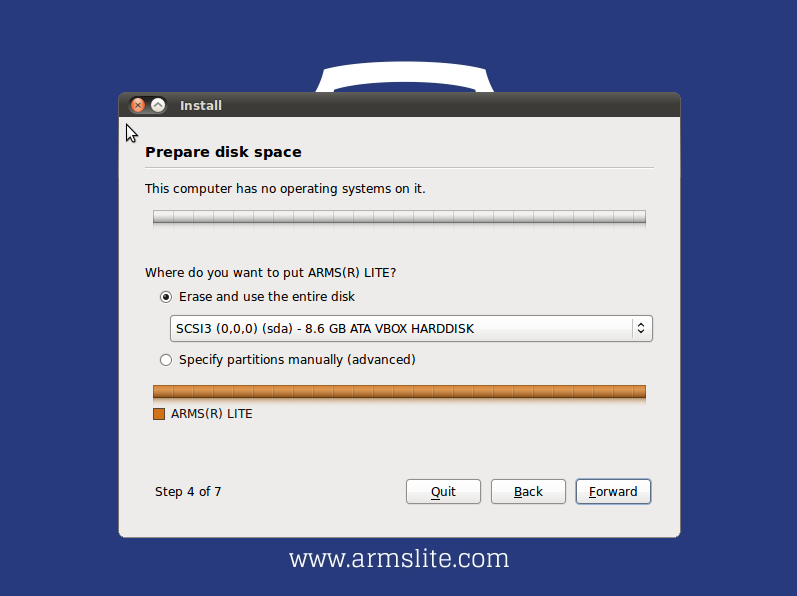
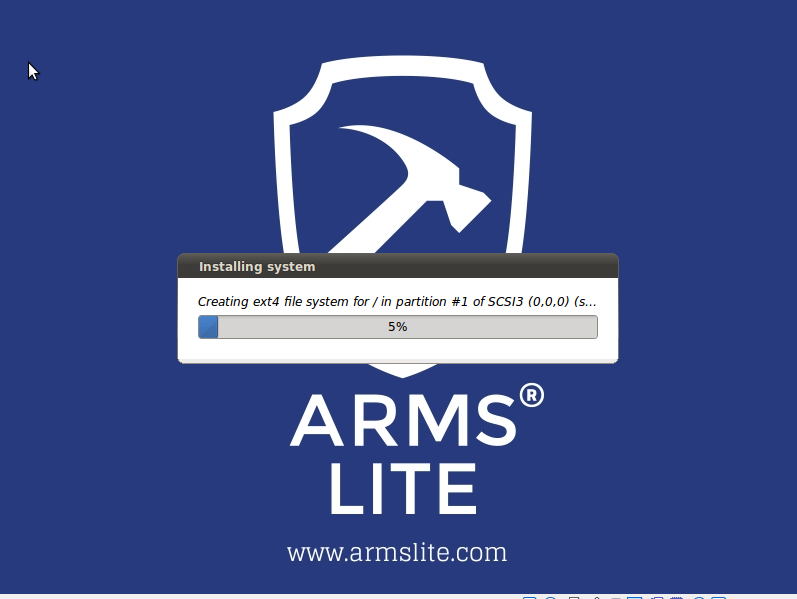
16. In this next step u need to key in the name and password for this computer (please note that for default we use arms for the name and 123456 as the password, but you can key in any name or password that you prefer). 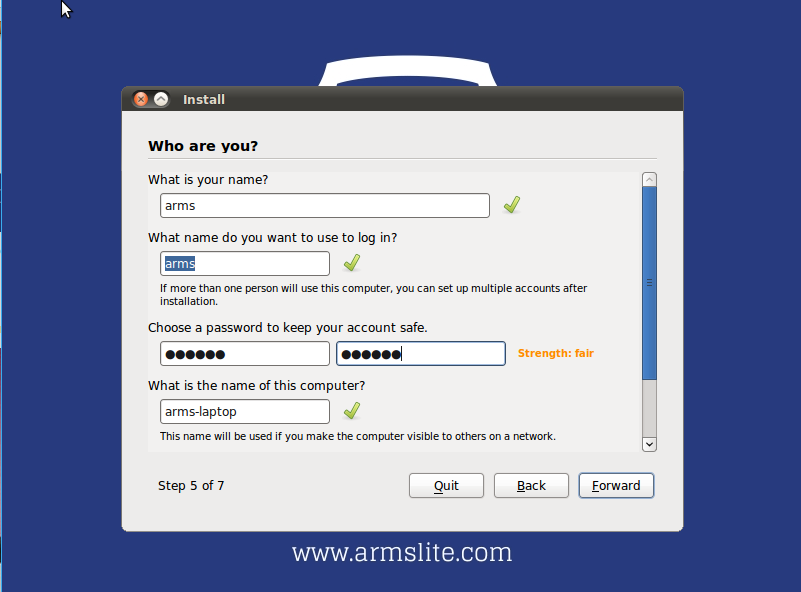
17. Now your system is ready to install, click on the Install button.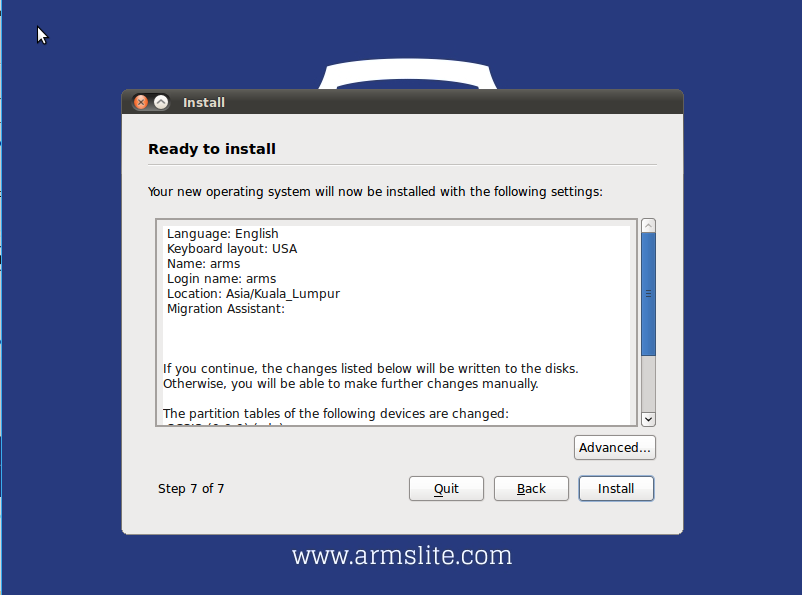
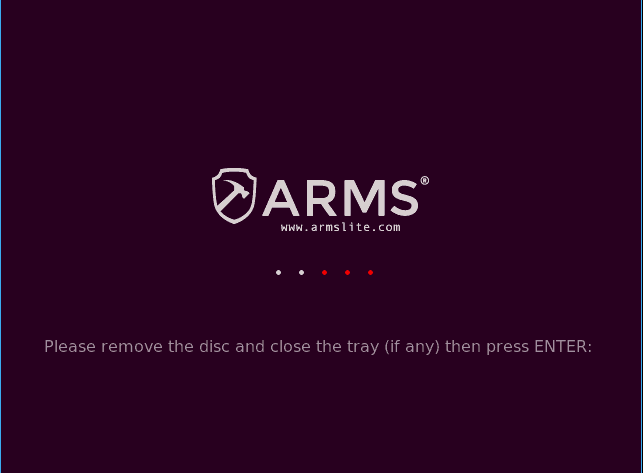
18. When the installation is complete click the Restart now button.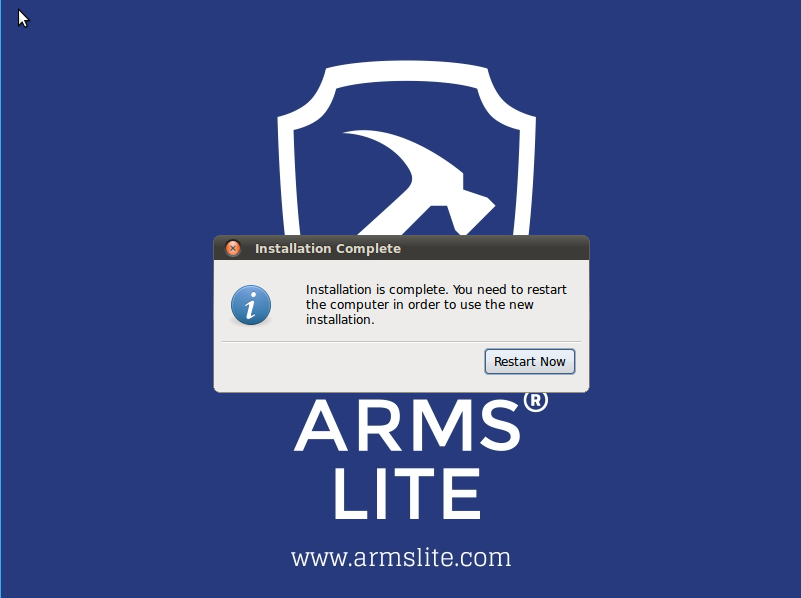
19. When this screen shows up just remove the Ubuntu installation disk and press ENTER and the system will restart and boot into Ubuntu ARMS® LITE